DIY speaker cables always sounded a bit like snake oil remedies to me, so it's taken awhile for me to catch on. I mean, zip cord carries the voltage/current to my speakers just as well as anything on the market, right?
Ahem...
While perusing the Internet, and more than a few You Tube videos, I stumbled upon this technique repeatedly. I gave in to curiosity and fabricated a set for my paper horns...
It's with a bit of humility that I present this page to DIY audiophile affectionados. My DIY Class A amplifier and paper horns have never sounded better. The mid-range blossomed and the ultra high end frequencies dropped in for an unexpected visit. This is a very inexpensive trick to achieving fuller/richer sounding audio.
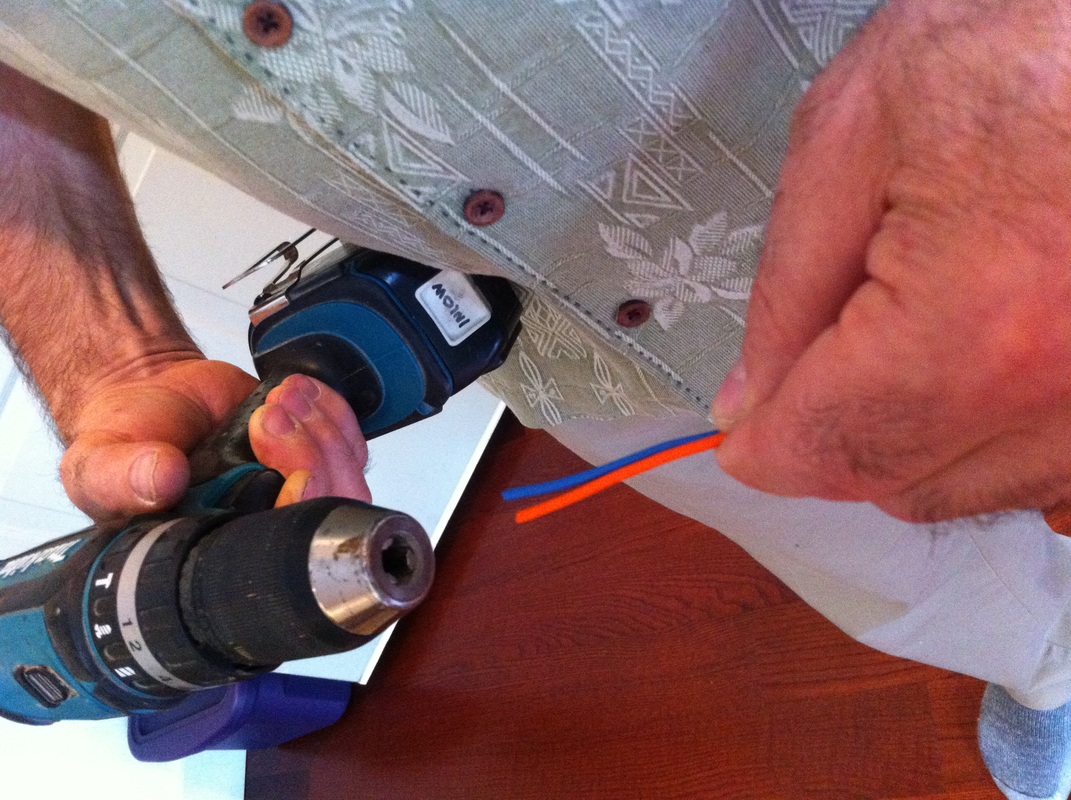
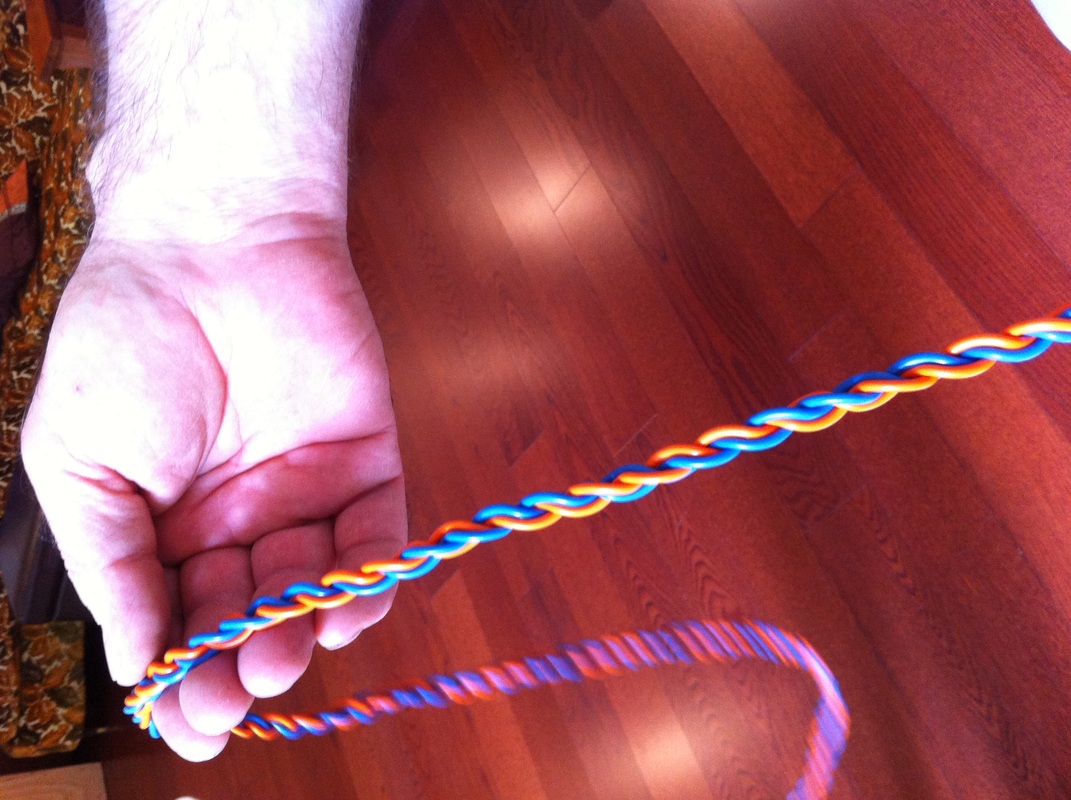
Here I'm using 16 gauge wire, orange and blue coated, to make a cable for my left channel mid bass horn. You'll notice that I have a cordless drill, which is much faster than trying to twist wire by hand.
After chucking up the wires, I secure the other end of the wires and pull everything taut. If you can find a willing helper, so much the better. Turn the drill motor's switch to clockwise and pull the trigger.
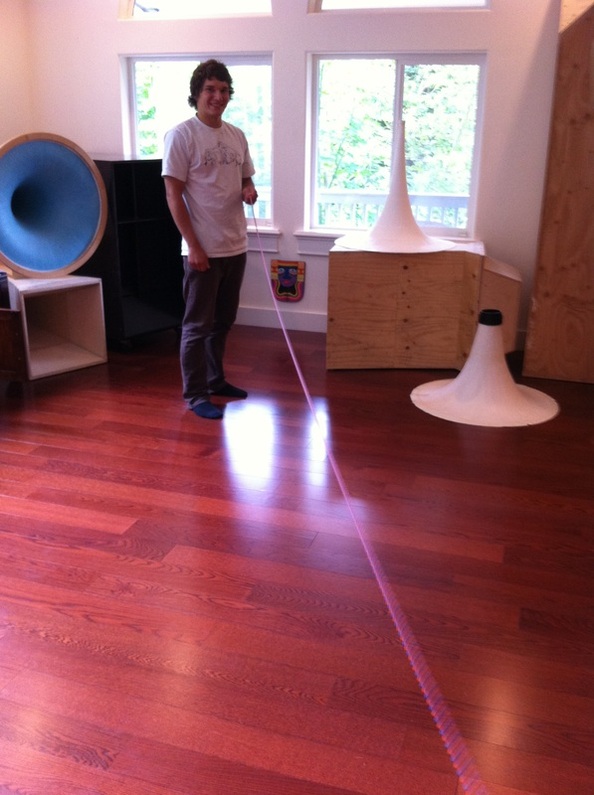
The twisted pair should look like the picture below:
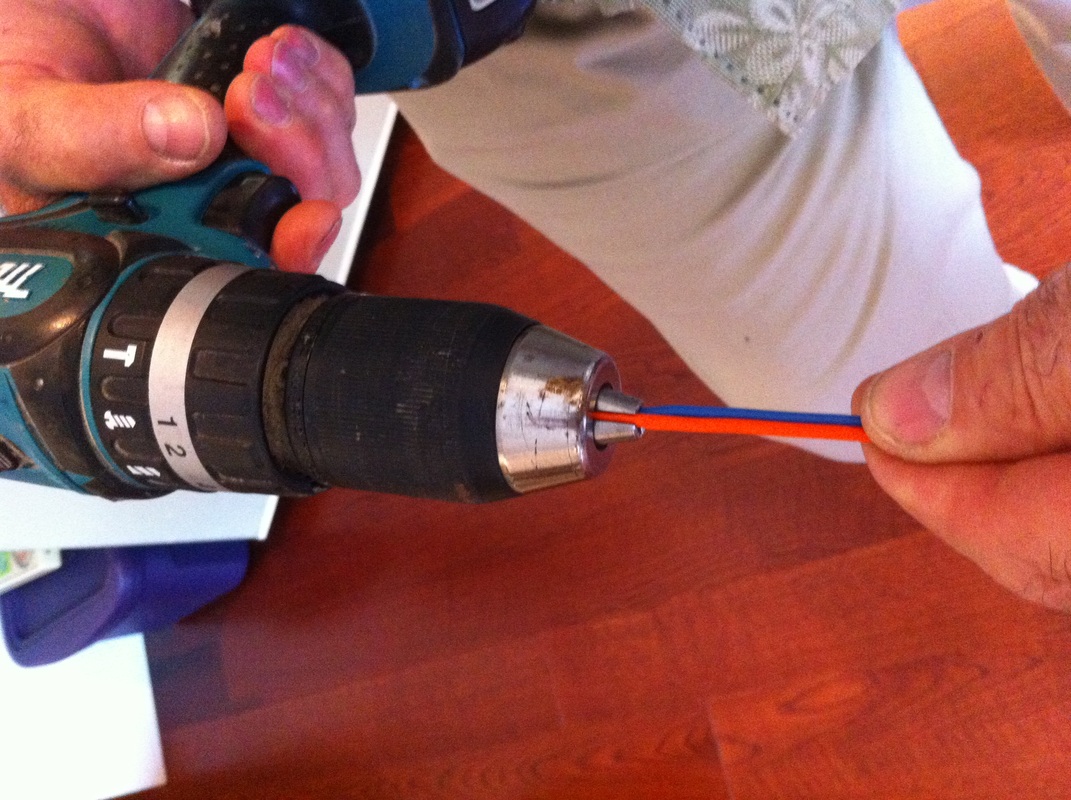
From your drill motor, remove the twisted wires and fold them in two. When you have equal lengths make a cut to create two pairs of twisted wires. Chuck both twisted pairs into the drill motor and wind in a counter clock-wise direction. The finished product should look like this:
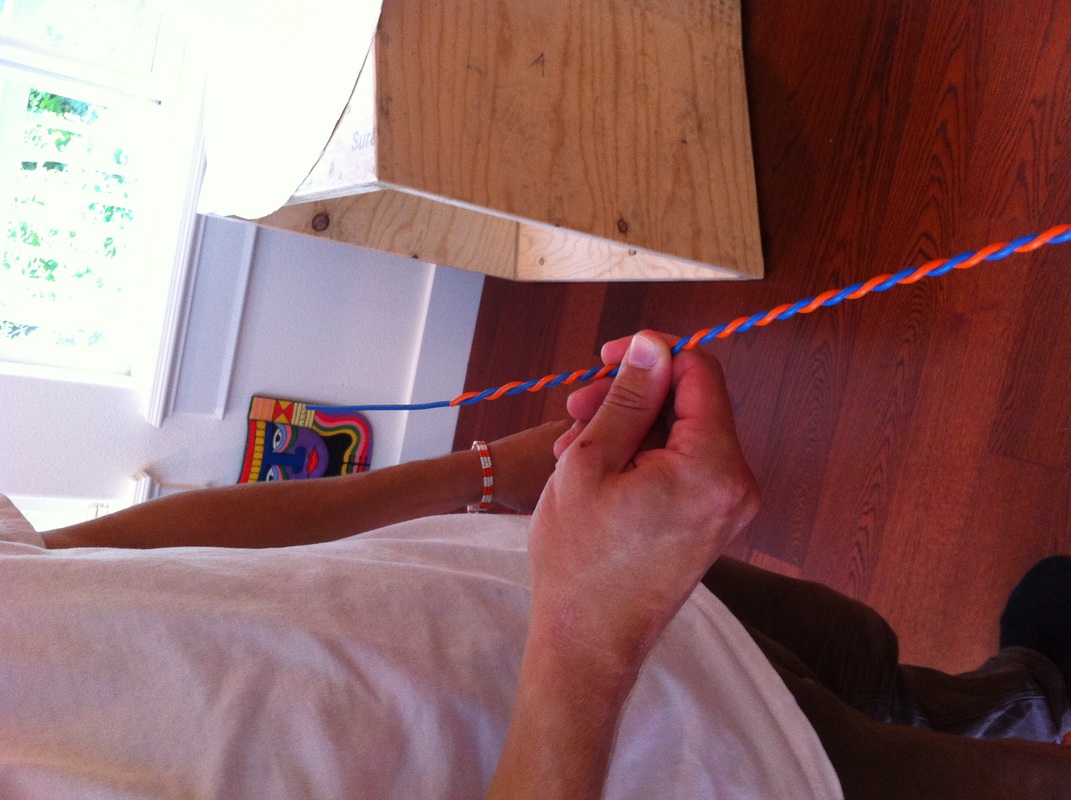
Clean up both ends to remove uneven lengths of wire and any wire that was damaged by the drill motor. Strip 3/4" sheathing from the wire ends and join matching colors. Connect your favorite flavor banana plug or neutrik connector to one end (if your running a pro audio amp) and whatever device the speaker requires for the other. Plug this little baby in and enjoy.